Pedal to the Metal: Retrofitting 3rd-Gen OEM Aluminum Pedals
The stock rubber pedal pads get the job done, but if you want to elevate your footwork and give the cabin a motorsport feel without going aftermarket, retrofitting 3rd-generation OEM Toyota aluminum pedals is the way to go. Here is how to get them installed perfectly.
Why OEM 3rd-Gen Pedals?
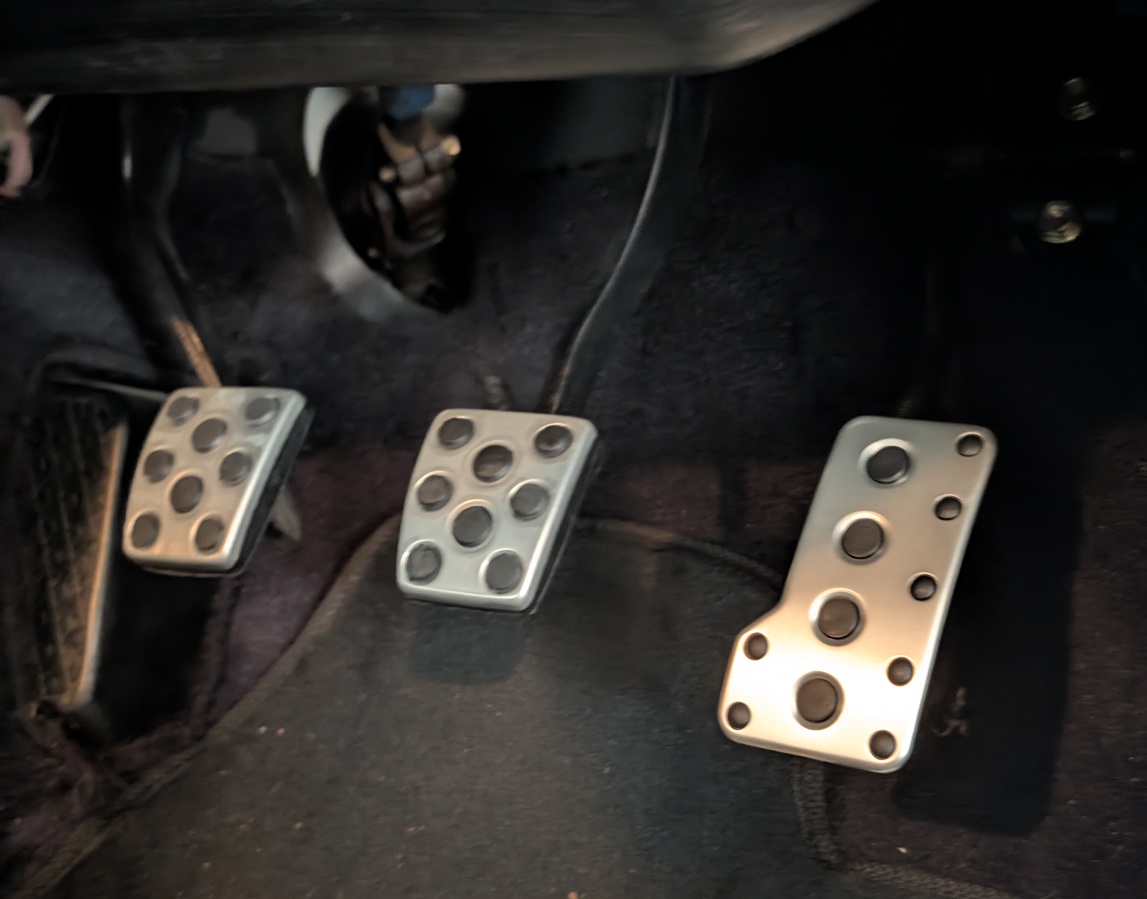
These aluminum covers offer excellent grip for heel-toe downshifting since they have built-in rubber nubs. Plus, because they are a genuine Toyota part, the fit and finish look entirely factory once installed—unlike bulky clamp-on generic pedal covers.
Parts Required
You’ll need to source the following OEM Toyota parts:
- 78101-20150 - Accelerator pedal
- 31321-53010 (x2) - Brake and Clutch pedals
- 90254-04019 - Locking pin
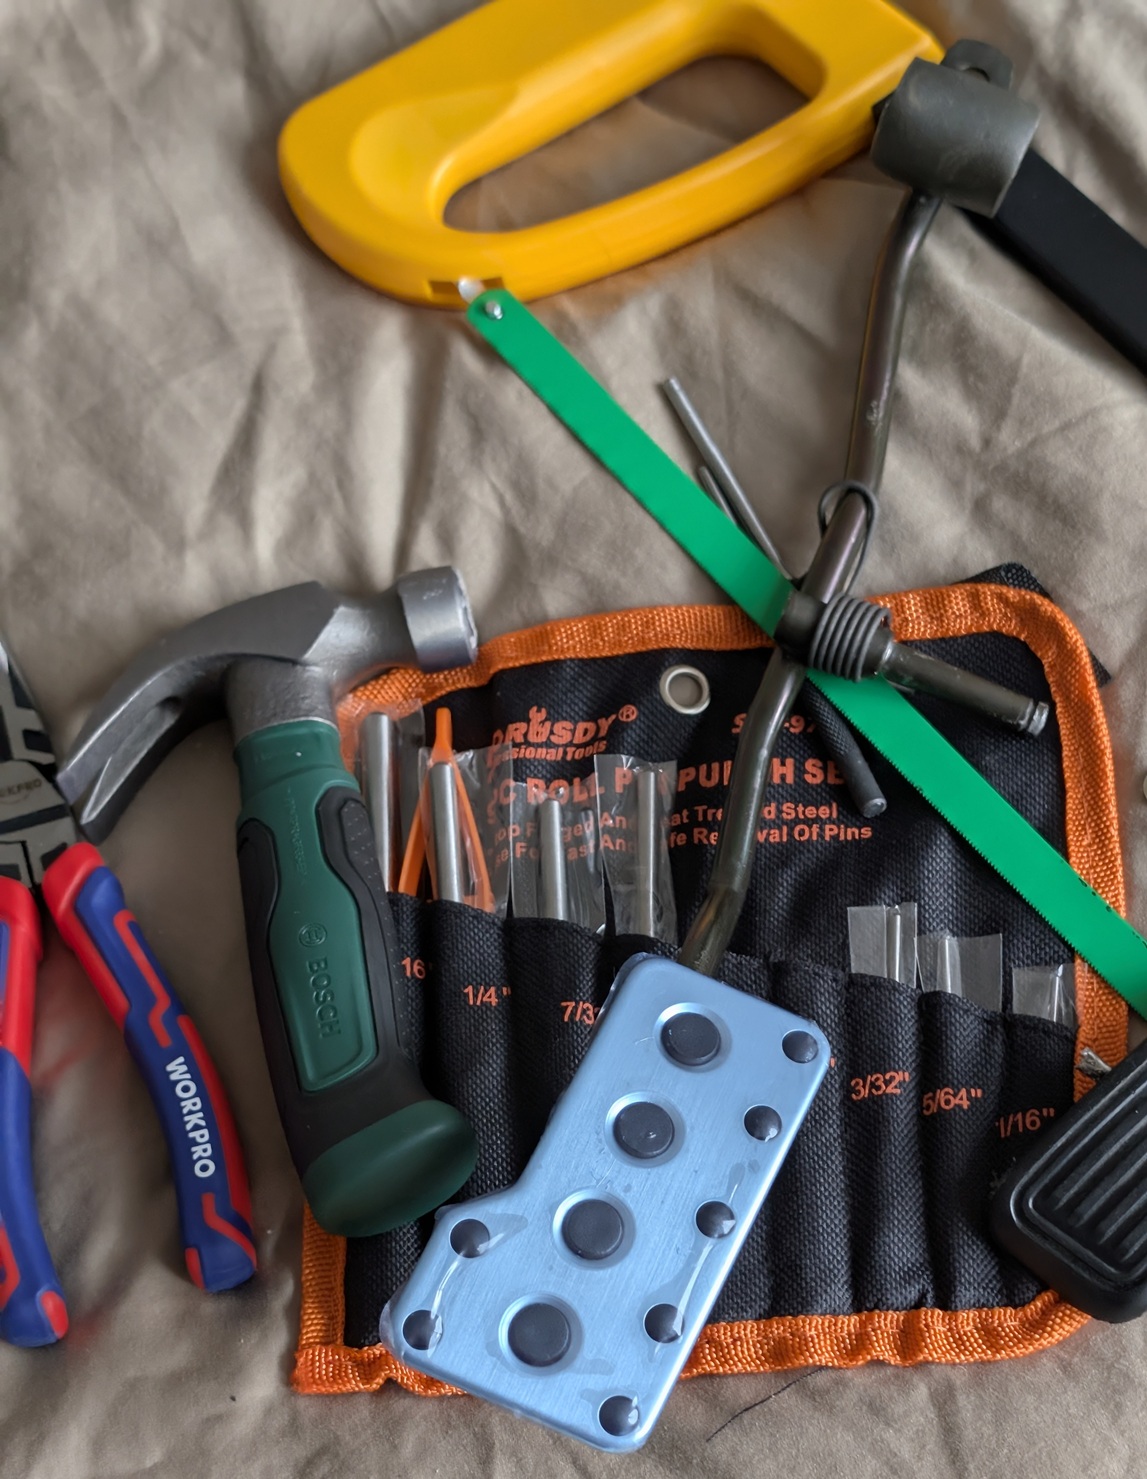
Tools Required
- Hammer
- Pin punch (for the accelerator pedal locking pin)
- Needle nose pliers (to remove the C-clip holding the accelerator pedal pivot point to the car)
Installation Steps
Brake and Clutch Pedals
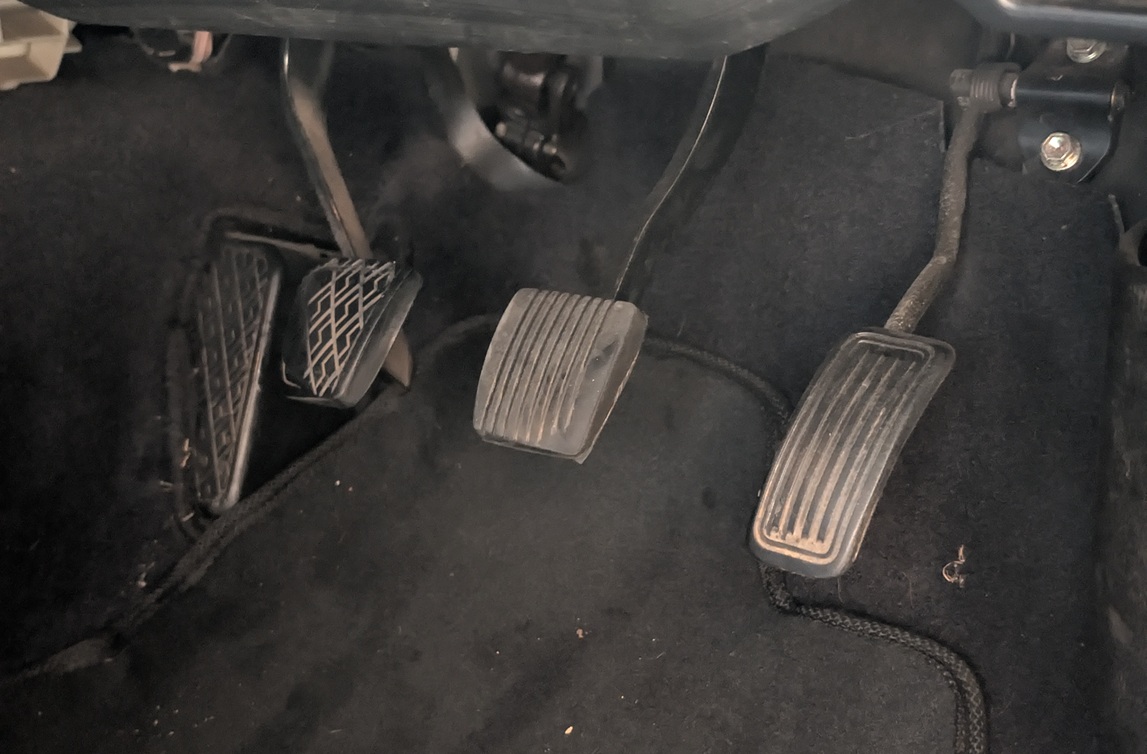
- Start by peeling the old, worn rubber covers off your brake and clutch pedals.
- Clean the bare metal plates thoroughly before attempting to wrestle the new covers on.
Accelerator Pedal
- Use needle-nose pliers to remove the C-clip holding the accelerator pedal’s pivot point to the car.
- Disconnect the throttle cable from the top of the pedal by feeding the cable out of its holder.
- Use your hammer and pin punch to tap out the old locking pin on the accelerator pedal assembly.
- Install the new aluminum accelerator pedal and secure it by knocking in your new locking pin.
- Reassemble the pivot point with the C-clip and reattach the throttle cable.
The Final Result